30 Second Pre Trade Checklist: 9 Items, Templates and Post Trade Audit
Run a 30 second pre trade checklist of nine yes or no items. Includes playbook templates for day, swing, futures, scalping and steps for measurable...

30 Second Pre Trade Checklist: 9 Items, Templates and Post Trade Audit
A pre-trade checklist is a short binary card, five to ten yes-or-no items, that you run in the seconds before you click buy or sell. One NO on any item cancels the trade, no exceptions, no “just this once.” Everything else, chart prep, calendar review, level marking, happens earlier in your pre-market routine so the pre-trade card stays fast enough to actually use under pressure.
TL;DR:
- Less than one NO on the pre-trade checklist cancels the trade, and items must be confirmed facts, not opinions or emotional states.
- The checklist should only include up to ten specific, observable criteria that are checked immediately before placing the trade.
- Most traders benefit from pre-market routines that clarify levels, bias, and equipment issues, reducing decision-making during execution.
- Proper sizing and stop placement rely on arithmetic and structural levels, not guesses or feelings, and must be enforced via broker orders.
- Post-trade review and logging are essential to identify which checklist items actually prevent costly mistakes, not just to follow rules mechanically.
Table of Contents
- What Belongs on a Runnable Pre-Trade Checklist?
- How Do You Build a Pre-Market Routine That Sets Up Fast Pre-Trade Checks?
- How Do You Turn Playbook Rules Into a Binary Checklist?
- What Does a Pre-Trade Checklist Look Like for Different Trading Styles?
- Getting Sizing, Stops, and Risk Right Before You Click
- The Mental-State Check That Actually Stops the Bad Trades
- Verifying Your Order Before It Goes Live
- Closing the Loop: Post-Trade Review and Journaling
- A Practitioner’s Note on Discipline Without Ritual
- How The Final Tape Fits Around Your Pre-Trade Card
- Sources
What Belongs on a Runnable Pre-Trade Checklist?
The pre-trade card is not where you do analysis. It’s where you confirm analysis you already finished. That distinction gets lost constantly, and it’s why so many traders abandon their checklists within a month. If you’re still asking “does this look like my setup?” at the moment of entry, you’re doing pre-market work at pre-trade speed, and that’s exactly the moment your emotions have the most leverage over your decision.
A workable pre-trade card sticks to confirmation, not discovery. Industry checklist guides converge on the same structure: binary items, a hard cap around ten, and a rule that a single NO kills the trade regardless of how good the setup feels in the moment according to research on rule-based execution. Here’s a template built on that structure:
- Setup match confirmed. Does this trade match a pattern in your written playbook, yes or no? Not “similar to” or “close to.”
- Key level respected. Is price at or through the specific level you marked pre-market?
- Stop-loss defined and entered. Do you have an exact stop price, and is the order already placed?
- Position size calculated. Did you run the size through your risk formula, or are you guessing?
- Reward-to-risk meets minimum. Does the trade clear your minimum ratio, typically 1.5:1 or better?
- No hard-no condition active. Are you inside a scheduled news blackout, past your daily loss limit, or trading within 30 minutes of a major release?
- Mental state clear. Are you calm, rested, and not trading to recover a prior loss?
- Spread and liquidity acceptable. Is the current spread inside your normal range for this instrument and session?
- No correlated position already open. Are you about to double your exposure to the same underlying risk?
Score the card, don’t just pass or fail it as a block. A common framing splits results into three lanes: A+ when every item is a clean yes and you take full planned size, B when one soft item is borderline (say, spread slightly wide but everything else clean) and you cut size, and C, which means any hard item fails and you skip the trade entirely. This mirrors how experienced traders use graded validation systems instead of pure pass-fail gates, mapping scores directly to position size rather than an all-or-nothing decision, per a 10-point validation framework.
Run the card at the exact moment you’re about to place the order, not five minutes before. Setups change fast enough that a card run too early is already stale by the time you execute. Keep a copy taped to your monitor or pinned in your trading platform, and log the result, pass or fail and which item failed, in whatever journal you already use, or consider automated logging tools from Ciphora to streamline this process. That single line of data becomes gold later when you’re figuring out which items are actually saving you money versus which ones you’re rubber-stamping.
Pro Tip: Print the card at actual size and physically check off each box with a pen for the first two weeks. The tactile habit builds faster than clicking through a digital version, and you’ll catch yourself skipping items you’d otherwise miss on screen.
How Do You Build a Pre-Market Routine That Sets Up Fast Pre-Trade Checks?
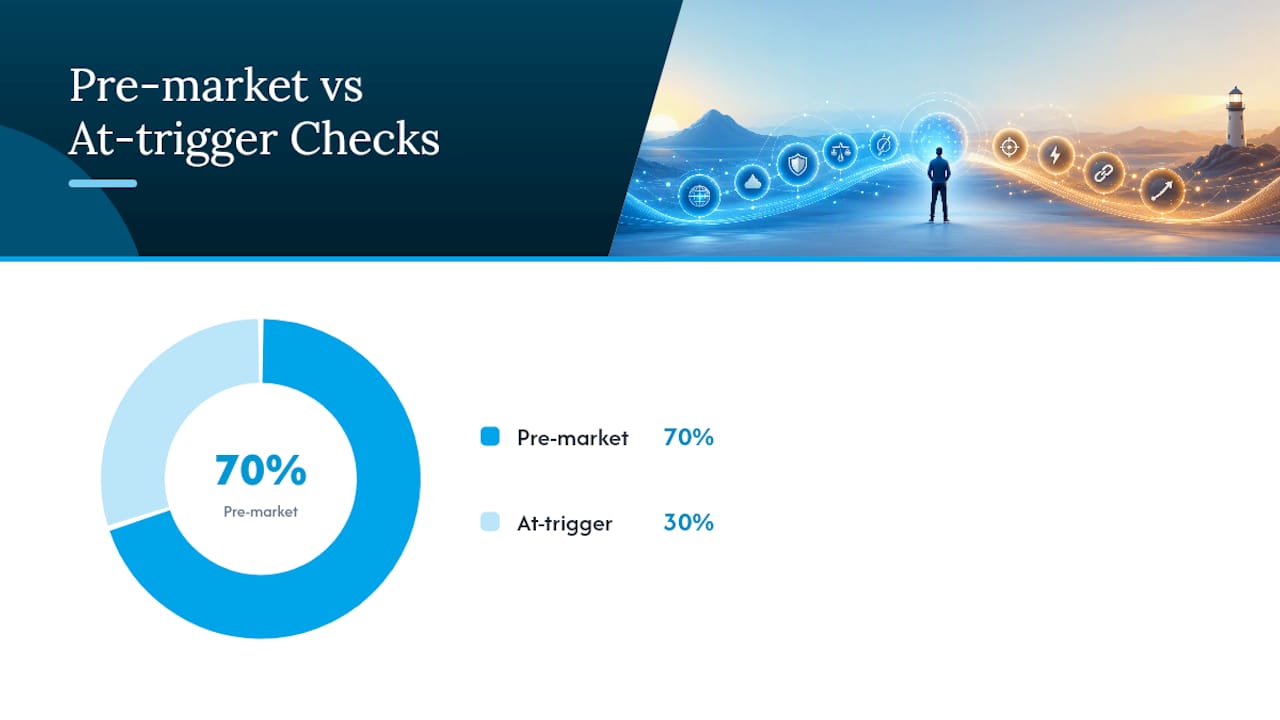
Everything you don’t want to think about during the pre-trade card gets resolved here, before the market opens or before your session starts. This is READ-DO territory: you read the market, decide your levels and bias, and write it down. Pre-flight routines built this way typically run 20 to 30 minutes and cover chart prep, emotional readiness, and equipment checks before a trader has “earned the right” to place a single order, according to pre-flight checklist research.
A sequenced pre-market routine looks something like this:
- Check the economic calendar (3 minutes). Flag any high-impact release during your trading window. Federal Reserve announcements in particular move markets hard enough that most guides recommend treating a 30-minute window around them as a no-trade zone unless you planned specifically for it, based on how Fed communications affect volatility.
- Review overnight and pre-market price action (5 minutes). Note gaps, unusual volume, and where price sits relative to yesterday’s close.
- Mark key levels on your chart (7 minutes). Support, resistance, prior day high/low, and any level your strategy specifically trades from.
- Write your market bias (3 minutes). One sentence: are you looking for longs, shorts, or standing aside? A five-phase structure, bias, key level, reaction, confirmation, execution, keeps this step concise instead of turning into an open-ended research session, per a five-phase checklist model.
- Check platform and connection (2 minutes). Confirm your broker feed, hotkeys, and order routing all work before the bell.
- Run your emotional gate (2 minutes). Rested? Not trading angry or to chase a loss from yesterday? If no, you don’t trade today. Full stop.
- Set your daily loss limit and max trade count. Write the number down. Not “keep it reasonable,” an actual dollar figure.
Notice how much of the pre-trade card above gets pre-answered here. Setup match and key level respected both draw directly from step 3 and step 4. That’s the whole point of splitting pre-market from pre-trade: the heavier thinking happens when you’re calm and have time, so the moment of execution only requires confirmation, not judgment.
How Do You Turn Playbook Rules Into a Binary Checklist?
Most checklists fail not because traders lack discipline but because the items themselves are written poorly. “Confirm strong setup” isn’t a checklist item, it’s an opinion with a checkbox next to it. A checklist item has to produce the same answer regardless of your mood, your P&L that day, or how badly you want the trade to work.
The fix is almost mechanical. Take any vague rule from your playbook and ask: what specific, observable fact would make this true? Here’s how that rewrite works in practice:
- ✗ “Setup looks good” → ✓ “Price closed above the 20 EMA on the last completed candle”
- ✗ “Risk is reasonable” → ✓ “Position size, when multiplied by stop distance, risks 1% or less of account equity”
- ✗ “Market conditions are okay” → ✓ “No red-flag news event scheduled within the next 30 minutes”
- ✗ “I feel confident” → ✓ “I have not taken a loss in the last 2 trades AND I slept at least 6 hours”
That last rewrite matters more than it looks. Ambiguous emotional checks are the ones traders talk themselves past most easily, and a checklist that tolerates “almost” or “close enough” stops functioning as a checklist at all, it becomes a suggestion, per research on binary checklist wording. If an item can’t be answered with a fact you could point to on a screen or a clock, it doesn’t belong on the pre-trade card. Move it into pre-market as a written decision instead.
Keep the pre-trade card itself at ten items or fewer. Beyond that, most traders start skimming rather than checking, which defeats the purpose entirely, according to toolkit research on checklist design. If you find yourself wanting an eleventh item, look for one that can be resolved earlier. Chart pattern confirmation, correlation analysis, and news research all belong in pre-market. Only things that can change in the final seconds, spread, order type, current price relative to your level, belong on the pre-trade card itself.
The underlying reason this works ties back to how decisions actually get made under stress. A written binary check forces slower, rule-based thinking in place of the fast, emotional pattern-matching that costs traders money on their worst days, a distinction some analysts describe as forcing System 2 deliberation over System 1 impulse, per analysis on checklist-driven discipline.
What Does a Pre-Trade Checklist Look Like for Different Trading Styles?
A day trader scalping five-minute charts and a swing trader holding for three days need different checklists, not because the discipline differs but because the timing pressure does. Here’s how the core structure adapts across the four styles most retail and futures traders run.
Day trading template:
- Setup matches a documented pattern from today’s pre-market plan
- Price at marked level, confirmed on the timeframe you actually trade
- Stop placed at structural invalidation, not an arbitrary dollar amount
- Position size calculated against 1% (or your defined) account risk
- Reward-to-risk at least 1.5:1
- No news release within 30 minutes
- Spread within normal range for this session
Swing trading template:
- Setup aligns with the higher-timeframe trend, not just the entry chart
- Stop placed beyond the nearest structural level with room for normal noise
- Position sized to survive a multi-day hold without needing to check every hour
- No earnings release or major scheduled event before your planned exit
- Correlation check: no other open position tied to the same sector or driver
Futures template:
- Contract specs confirmed: tick value, margin requirement, and expiration date checked, not assumed
- Trading during the session with genuine liquidity for this contract, not a thin overnight window
- No scheduled macro release (NFP, FOMC, CPI) inside your holding window unless specifically planned for it, since futures-specific guides flag contract specs and scheduled macro drivers as pre-trade exclusions worth checking every time, per futures checklist research
- Stop distance adjusted for the contract’s typical tick range, not copy-pasted from a different instrument
Scalping template:
- Setup triggers on the exact signal from your rules, no discretionary override
- Spread confirmed tight enough that it doesn’t eat the trade’s expected edge
- Stop and target both pre-calculated before entry, since there’s no time to think mid-trade
- Daily trade count still under your cap
Scalpers benefit most from pushing work into pre-market since speed at execution matters more here than anywhere else. One breakdown of a 10-point validation process found that closing seven items during pre-market prep left only three confirmations needed at the actual trade trigger, which is roughly the ceiling for what a scalper can realistically check without slowing down their entry, according to step-by-step validation research.
If you trade under prop-firm rules, add a layer most retail checklists skip entirely: daily loss limit remaining, whether you’re inside a restricted news window per firm rules and current drawdown relative to your evaluation target. Prop constraints introduce operational checks that many independent traders never think to write down because nobody is enforcing them externally, per research on trade entry and exit checklists. When you’re close to a daily limit, cut size in half automatically rather than deciding case by case.
Getting Sizing, Stops, and Risk Right Before You Click
Position sizing isn’t a feeling, it’s arithmetic, and it should be the same three numbers every time: account risk percent, stop distance in price, and the resulting share or contract count from your calculator. If you’re sizing from a gut feel about how a trade “should” go, you’ve already skipped the calculation. Most traders who blow through their limits didn’t intend to, they just never ran the number and eyeballed a size that felt roughly right.

Stop placement should mark structural invalidation, the price level at which your original reason for the trade is simply wrong, not a fixed dollar amount you picked because it felt tolerable. And the stop needs to live on the broker’s server the instant you enter, not in your head as a mental level you’ll “definitely honor.” Mental stops get skipped exactly when you need them most, which is the entire reason server-side enforcement exists as a pre-trade requirement rather than a suggestion.
A few checks that catch the mistakes sizing alone won’t:
- Correlated exposure: if you already hold a long in one tech name, a second long in a correlated name isn’t diversification, it’s the same bet twice.
- Volatility adjustment: widen stops on high ATR days and tighten size to match, rather than using the same stop distance in calm and volatile conditions alike.
- Reward-to-risk floor: reject any setup below your minimum ratio regardless of how confident you feel about the direction.
The Mental-State Check That Actually Stops the Bad Trades
Emotional checks fail on most checklists because they’re written as feelings instead of facts. “Am I calm?” is unanswerable in the moment you most need an honest answer. Hard-no rules work better: specific, external, unarguable triggers that shut trading down regardless of how you currently feel about your read on the market.
A few hard-no rules worth writing into your own card:
- Post-loss pause: two losing trades in a row means a mandatory 30-minute break before the next entry, no exceptions.
- News blackout: no new entries within 30 minutes of a scheduled high-impact release you haven’t specifically planned around.
- Fatigue cutoff: under 6 hours of sleep means half size or no trading at all that session.
- Revenge-trade flag: if your next trade idea appeared within 5 minutes of a loss, it doesn’t get taken.
Enforcement matters more than the wording. Say the rule out loud before you click, literally speak it: “I am NOT trading revenge right now.” It sounds almost silly, but the physical act of vocalizing a rule engages a different part of your attention than silently reading a checkbox, and traders who use this tactic report catching more overrides before they happen rather than after.
Log every refused trade, not just the ones you take. A line that reads “skipped, news blackout, would have lost $180 based on the move that followed” is one of the most valuable entries in your entire journal, because it proves the rule is working.
Pro Tip: Set a visible countdown timer during your post-loss pause. Watching the clock count down does more to break the urge to re-enter early than simply “trying to wait it out” ever will.
Verifying Your Order Before It Goes Live
The best checklist in the world doesn’t help if the order itself is wrong. This is the last gate, purely mechanical, purely about execution rather than analysis, and it takes seconds if you build the habit.
Before you send the order, confirm three things every time: the stop-loss and take-profit are both attached on the broker’s server (never mental, never “I’ll add it after”), the current live spread is inside your normal range for this instrument and session, and the order type matches your plan, market order for immediate fills, limit order if you’re working a specific price.
Slippage deserves its own quick glance. If an instrument has been running wider than usual slippage over the past several sessions, especially around news or at session open, that’s a signal to either widen your expected cost assumption or skip trading that instrument during that window entirely.
Build fallback rules now, before you need them under pressure:
- Partial fill: if only half your size fills, decide in advance whether you complete the position or treat the partial as the full trade.
- Re-quote: if your platform re-quotes at a worse price, have a rule for the maximum price move you’ll accept before canceling.
- Excessive slippage: if a market order fills more than a defined distance from the quoted price, that’s a system or liquidity problem, not a reason to chase.
Closing the Loop: Post-Trade Review and Journaling
A checklist without a feedback loop is just a ritual. The entire value of the pre-trade card comes from what you do with the results afterward, and that means logging specific fields immediately after every trade closes, not at the end of the week when memory has already smoothed over the details.
Capture these fields right after exit: which setup you traded, how many checklist items passed versus failed, actual slippage versus expected, the final outcome, and one honest sentence on what you’d do differently. Regulatory and investor-education resources consistently point to structured record-keeping as the foundation for spotting patterns you’d otherwise miss, according to investor education guidance, and a checklist log is exactly that kind of record.
Run a weekly audit specifically looking for checklist holes: which item gets skipped most often, and which failed item actually correlated with your worst losses. That second question matters more than people expect. Some items feel important but rarely predict outcomes, while others quietly catch your most expensive mistakes every single time. The Post-Trade Review Template gives you a structured starting point for exactly this kind of weekly breakdown, and pairing it with a broader trading journal playbook helps you build the habit into something durable rather than a one week experiment.
The insight worth sitting with: a short pre-trade card paired with a strict post-trade audit is a more sustainable improvement lever than a longer checklist alone, largely because the audit is what catches which items are pulling their weight, per analysis on rule-based discipline.
A Practitioner’s Note on Discipline Without Ritual
Try one specific change for two weeks: tape the pre-trade card to your monitor, physically, and track your pass rate every single day in a simple spreadsheet. Not a mental note, an actual logged number. Most traders who do this discover their real pass rate is lower than they assumed, and that gap is usually where their worst trades live.
The caution worth repeating: a checklist can become theater. Ticking boxes without honestly asking whether each answer is true turns discipline into decoration. The card only works if you’re willing to write NO on a trade you badly want to take.
— Docze
How The Final Tape Fits Around Your Pre-Trade Card
A checklist tells you whether to take the trade. It doesn’t tell you, three weeks later, which checklist item is actually saving you money and which one you’re rubber-stamping out of habit. That’s the gap Thefinaltape closes: it automates the logging your checklist produces, runs a structured multi-agent audit across your trade history, and ranks your recurring errors by actual dollar impact instead of gut feel.
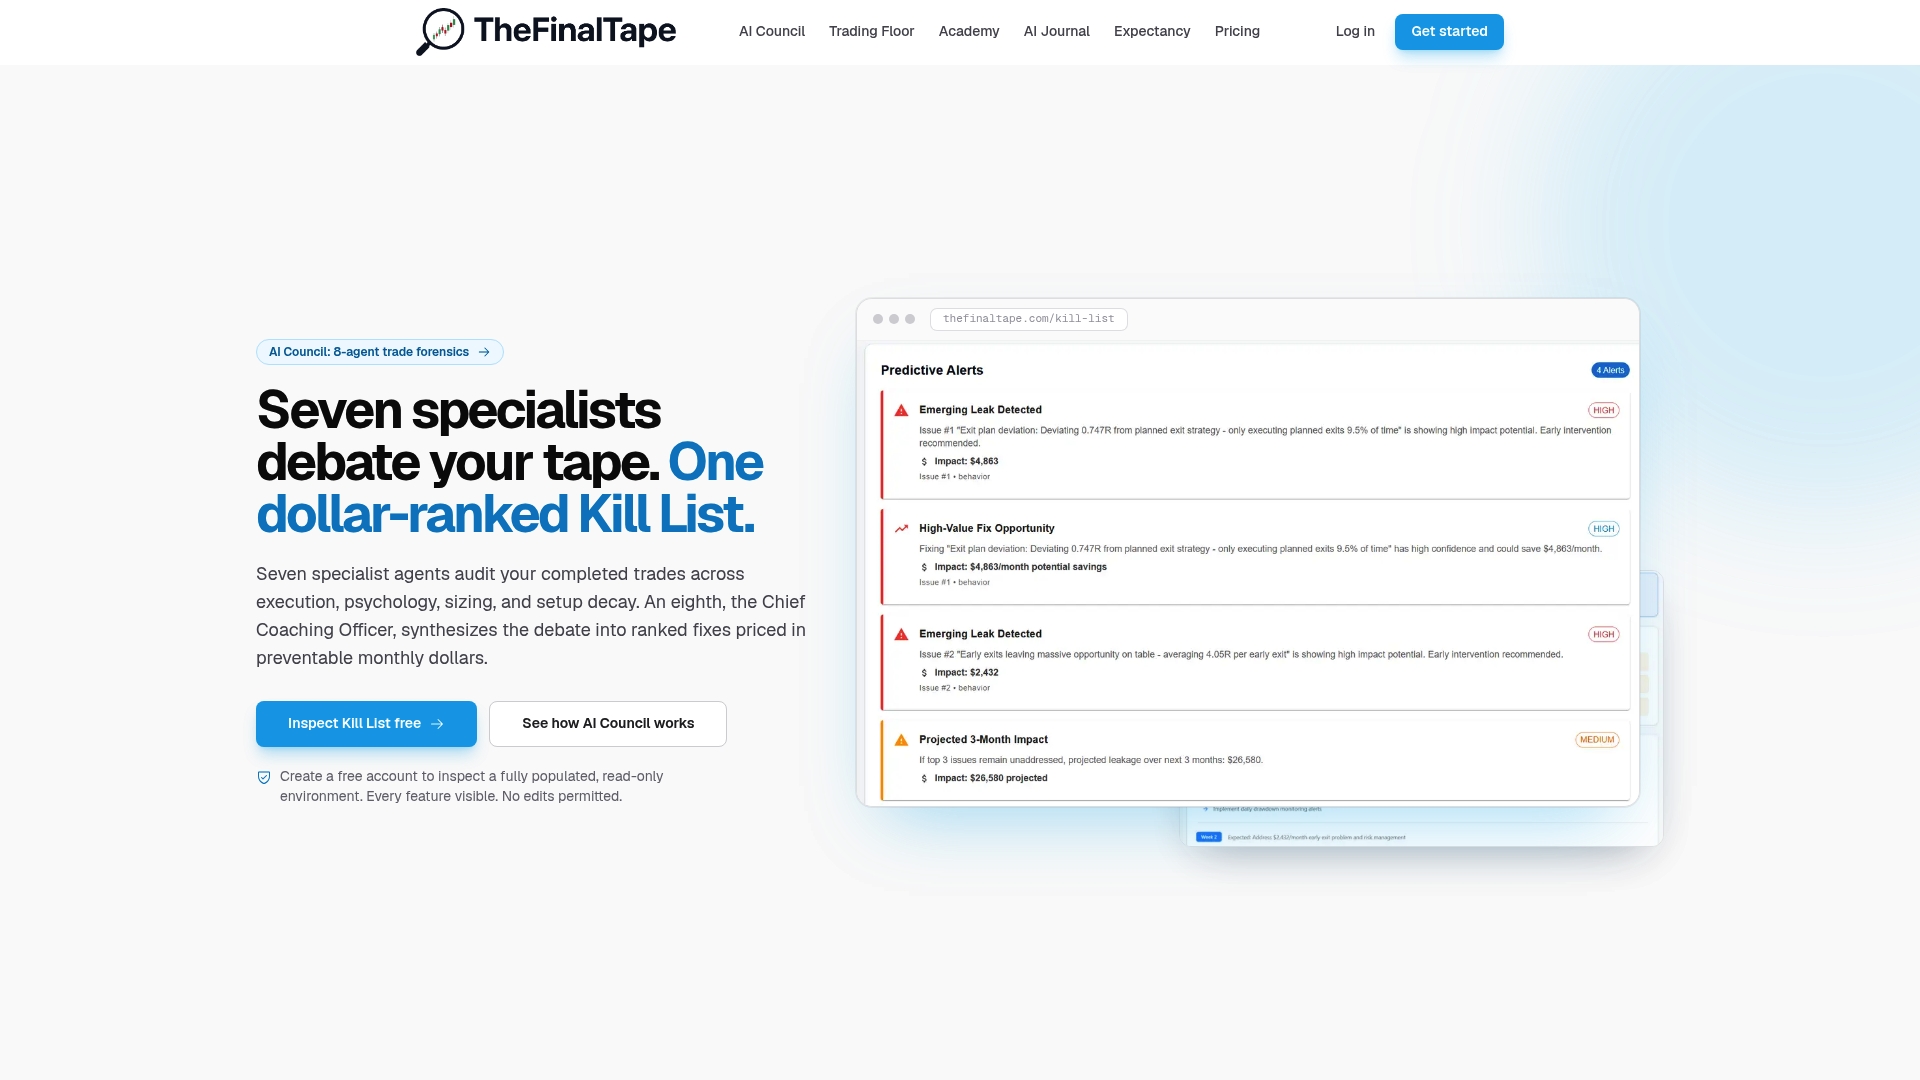
Where a spreadsheet gives you raw numbers, Thefinaltape’s AI Council reconstructs each trade into a structured dataset, debates the findings across specialist analysts, and hands you a prioritized Kill List of the mistakes costing you the most, tied to concrete figures rather than vague impressions. If you’re already running the pre-trade card described here, pairing it with the Trade Review Software turns your checklist pass/fail log into a measurable audit trail. Start by exploring the Post-Trade Review Template or browsing the Academy lessons on trade management to see how the two pieces, checklist discipline and structured review, work together.
Sources
- Day Trading Checklist: Automatic Discipline, Risk Management, and Rule-Based Execution
- The Day Trading Checklist: Run These 5 Checks Before Every Trade
- The Pre-Flight Checklist: A Day Trader’s Pre-Market Routine - Micros Trader
Recommended
Stop reviewing from memory
Run compliance scoring, tag ranking, and Kill List rules on every trade — not once a month when the account feels off.